 English
 عربى
عربى Deutsch
 Español
 Français
 русский
 日本語
日本語 简体中文
简体中文Content
- 1 Understanding the Purpose of Elevator Background Boards
- 2 Step 1. Assessing the Elevator Car Structure
- 3 Step 2. Choosing the Right Material and Finish
- 4 Step 3. Preparing the Installation Tools and Environment
- 5 Step 4. Installing the Mounting Framework
- 6 Step 5. Positioning and Fixing the Background Panels
- 7 Step 6. Aligning and Finishing the Joints
- 8 Step 7. Final Inspection and Quality Check
- 9 Step 8. Cleaning and Maintenance After Installation
- 10 Common Challenges During Installation
- 11 Tips for a Successful Installation
- 12 Conclusion
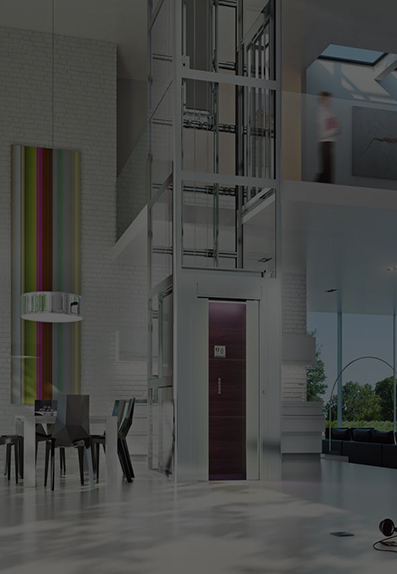
Elevator background boards play a crucial role in shaping the interior appearance and functionality of modern elevators. These panels are not merely decorative components; they also serve as protective barriers that shield the inner walls from damage and wear. Proper installation ensures safety, durability, and an elegant finish that complements the architectural style of the building.
Understanding the Purpose of Elevator Background Boards
Before examining the installation process, it is important to understand why elevator background boards are essential. These panels line the back or side walls of the elevator car, serving both aesthetic and functional purposes. They create a polished appearance, improve the ambiance for passengers, and protect the structural surfaces from scratches, dents, and moisture. A properly installed background board also helps maintain hygiene by allowing easy cleaning and preventing dirt accumulation on rough surfaces.
Elevator background boards can be made from a variety of materials, including stainless steel, glass, laminate, aluminum composite panels, or even natural stone veneers. Each type of material demands a different installation approach, which makes the preparation stage a critical step.
Step 1. Assessing the Elevator Car Structure
The installation begins with a thorough inspection of the elevator car. Installers must measure the height, width, and depth of the car to determine the exact dimensions for the background boards. Any uneven surfaces or existing damage must be addressed before proceeding. The supporting frame or wall must be clean, stable, and capable of bearing the weight of the panels.
If the elevator has previously installed boards that need replacement, the old panels must be removed carefully to avoid damaging the underlying wall or mounting brackets. After removal, the surface is cleaned to eliminate any adhesive residue, dust, or corrosion. A clean and smooth base ensures better adhesion and alignment for the new panels.
Step 2. Choosing the Right Material and Finish
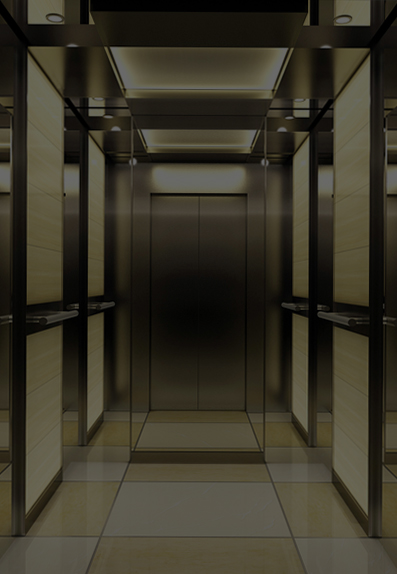
Selecting the appropriate material depends on the intended design and the level of durability required. Stainless steel is often chosen for its strength, corrosion resistance, and ease of cleaning. Mirror-finish or hairline-finish panels add brightness and depth to small spaces, while textured or patterned surfaces hide fingerprints and scratches effectively.
Glass panels offer a modern and elegant appearance but require careful handling and secure fixing methods. Laminate or aluminum composite panels provide lighter alternatives with a wide range of color and texture options. Regardless of the material chosen, it is essential to verify that it complies with fire safety standards and has the appropriate surface treatment for durability.
The finish must also match the overall design theme of the building, whether it is minimalistic, luxurious, or industrial. During this stage, precise measurements are sent to the fabricator so the panels can be cut to size before delivery.
Step 3. Preparing the Installation Tools and Environment
Professional installation requires specific tools such as a level, measuring tape, drill, screws, rivets, adhesive sealant, and sometimes a vacuum lifter for large panels. The work area must be clean, well-lit, and free from debris. Elevators should be powered off and isolated from service to ensure worker safety during installation.
It is also necessary to protect the floor and ceiling of the elevator car with protective sheets to avoid accidental damage. The installer should wear gloves to prevent fingerprints on polished surfaces and use proper lifting equipment when handling heavy or delicate panels.
Step 4. Installing the Mounting Framework
For most elevator background boards, a supporting frame or substructure is first installed. This framework is typically made of aluminum profiles or stainless steel channels and serves as the foundation to which the panels are fixed.
The frame is anchored securely to the elevator wall using screws or rivets. Installers must ensure that the frame is level and square, as any misalignment will affect the fit and appearance of the panels. Spacing between the channels must correspond to the panel size and thickness to provide adequate support while maintaining enough room for thermal expansion.
In some cases, adhesive systems are used instead of mechanical fasteners. High-strength industrial adhesives or double-sided structural tapes can bond panels directly to the wall or frame, providing a smooth, seamless appearance without visible screw heads. The choice of method depends on the material type, weight, and design requirements.
Step 5. Positioning and Fixing the Background Panels
Once the frame is in place, the background boards are installed. Each panel is carefully positioned, starting from the bottom and moving upward. The first panel must be perfectly aligned, as it serves as the reference point for the rest. Installers use a level and measuring tools to confirm vertical and horizontal alignment.
Panels can be fixed using several techniques:
Mechanical fastening: Panels are attached to the frame with concealed clips, screws, or brackets. This method allows easy removal or replacement later.
Adhesive bonding: A layer of adhesive is applied evenly on the back of the panel or frame. The panel is then pressed firmly into place and held until the adhesive cures.
Combination system: Both screws and adhesive are used for added stability, especially for heavier materials like glass or stone veneer.
Installers must maintain small gaps between panels to accommodate expansion caused by temperature or humidity changes. These gaps are later sealed with silicone or flexible joint fillers for a clean finish.

Step 6. Aligning and Finishing the Joints
After all panels are mounted, attention shifts to the joints. Proper joint treatment gives the elevator interior a uniform and refined look. Sealing materials are applied carefully to prevent dust or moisture from entering the gaps. For metal boards, the joints are often covered with decorative trims or edge strips that match the panel finish.
If the panels are made of glass or high-gloss material, any misalignment will be highly visible. Therefore, installers recheck every joint for precision, ensuring a continuous and balanced appearance. The corners and edges are then polished or covered with protective strips to prevent injury or chipping.
Step 7. Final Inspection and Quality Check
Once installation is complete, a detailed inspection follows. Installers check for alignment, surface smoothness, and structural stability. Any visible gaps, scratches, or adhesive marks are corrected. The elevator background boards must sit flush against the wall without bulging or vibration when the elevator operates.
If lighting fixtures or mirrors are integrated into the background design, they are tested at this stage to ensure proper illumination and secure attachment. Only after the entire system passes inspection is the elevator returned to service.
Step 8. Cleaning and Maintenance After Installation
Proper maintenance ensures that the newly installed background boards remain attractive and durable for years. Stainless steel panels should be cleaned regularly with a soft cloth and mild detergent to prevent smudges and oxidation. Abrasive cleaners should be avoided as they can damage surface finishes.
Glass panels require a non-ammonia cleaner and microfiber cloth to maintain their clarity. For laminate or aluminum composite boards, gentle cleaning agents are recommended to avoid dulling the surface. Routine inspection should also include checking for loose joints or damaged sealants, which can be repaired promptly to maintain safety and appearance.
Common Challenges During Installation
Installing elevator background boards may appear straightforward, but it often presents technical challenges. Uneven walls can cause alignment problems, making it necessary to adjust the supporting frame carefully. Heavy or large panels require precise handling and sometimes two or more technicians to lift and position them safely.
In existing elevators, space constraints and limited access can complicate installation. Adhesive curing times also need to be managed to avoid premature loading on the panels. Moreover, installers must always comply with elevator safety regulations, ensuring that no installation process interferes with mechanical components or ventilation systems.
Tips for a Successful Installation
Always measure twice before cutting or drilling to prevent errors.
Choose materials that are compatible with the elevator’s environment, especially in humid or coastal areas.
Ensure that all fasteners and adhesives are rated for vertical load-bearing applications.
Plan for maintenance access in case a panel needs replacement in the future.
Work with skilled technicians familiar with elevator interiors to guarantee both safety and precision.
A well-executed installation combines craftsmanship, engineering knowledge, and design awareness. It not only enhances passenger comfort but also extends the service life of the elevator car.
Conclusion
The installation of elevator background boards is a meticulous process that demands accuracy, safety awareness, and aesthetic judgment. From assessing the structure and selecting materials to securing panels and ensuring flawless alignment, each step plays a crucial role in the final outcome.
When done correctly, elevator background boards transform an ordinary lift into a refined, durable, and visually appealing space. The process requires attention to detail, adherence to safety standards, and regular maintenance afterward. By following proper procedures and using quality materials, building owners and contractors can achieve long-lasting results that combine function, elegance, and safety within the confined environment of an elevator car.


