 English
 عربى
عربى Deutsch
 Español
 Français
 русский
 日本語
日本語 简体中文
简体中文Content
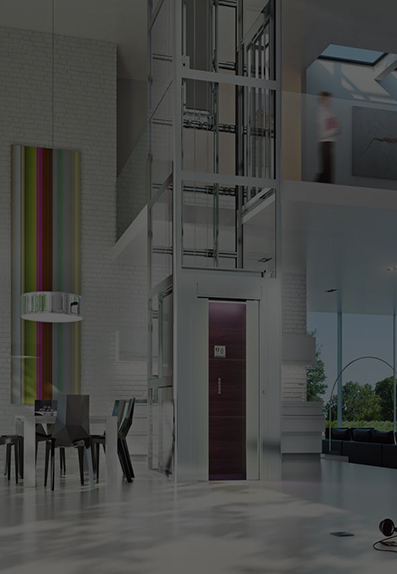
Most villa elevator interiors fail not because of poor mechanics, but because the bottom panel was an afterthought. This single rear wall panel, approximately 2,000 to 2,800 mm high, sets the visual tone of the cabin. Get it right and every ride feels intentional. Get it wrong and even a well-designed elevator looks cheap.
This guide explains what really matters when selecting villa elevator bottom panels : materials, finishes, installation logic and how to adapt the panel to the aesthetic of your home — without making the decision too complicated.
What a background table actually does
A villa elevator background panel is more than just a decoration. It is a structural wall panel that protects the interior frame of the cabin, supports handrails and control modules, and bears the brunt of daily contact and cleaning. Think of it as the load-bearing skin of the cabin, not wallpaper.
Because it anchors the functional components, the thickness of the panel is important. Decorative-only panels are typically between 6 and 10 mm; panels that mount handrails or control units need 12-18mm depth of the material to hold the fixings securely over time. Choosing a decorative panel for a structural application is one of the most common – and avoidable – installation mistakes.
The four main materials, honestly compared
Each type of material suits a different combination of environment, style and budget. Here's a handy breakdown:
| Material | Ideal for | Key advantage | Pay attention to |
|---|---|---|---|
| Stainless steel (304/316) | Modern and busy coastal villas | Corrosion resistant, impact resistant, easy to clean | Shows fingerprints on mirror finish |
| Wood veneer | Classic and warm interiors | Rich grain texture, premium feel | Requires moisture resistant treatment in damp areas |
| Tempered Glass/Mirror | Small cabins, panoramic styles | Visually expands the space | Requires frequent cleaning; heavier installation |
| Composite panel/HPL | Economical or low traffic residential | Light and wide color range | Lower impact resistance than metal |
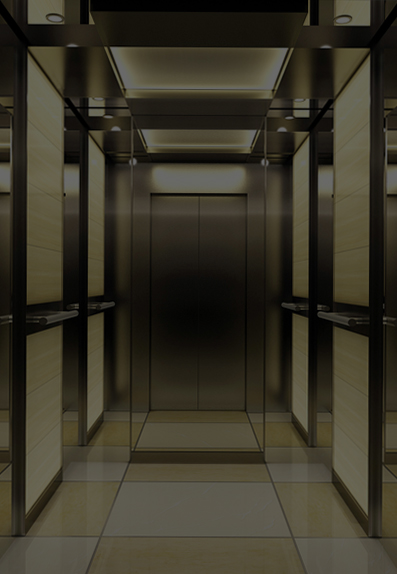
For most private villas, stainless steel with a brushed or etched finish provides the best balance between sustainability and design flexibility. Grade 316 deserves improvement in coastal or high humidity areas: it resists chloride corrosion that grade 304 cannot handle in the long term.
Wood veneer remains the preferred solution for homeowners seeking warmth and natural character. Species like walnut, oak and mahogany blend naturally with classic or transitional interiors. The critical specification here is whether the veneer substrate has been conditioned by moisture: untreated cores will warp and delaminate within a few years in humid climates.
Finishes that change everything
The source material only tells half the story. Surface treatment defines how a panel reads in the cabin. Common options include:
- Brushed finish (hairline) — soft, directional texture that hides minor scratches and reduces glare. The most practical everyday choice for stainless steel.
- Mirror finish - high impact visual, but shows every stain. This is best reserved for decorative panels rather than full back walls.
- Engraved patterns — Laser or chemical engraving creates permanent decorative designs directly on the metal surface. No risk of peeling or fading over time.
- Rose gold/champagne gold PVD coating — increasingly popular in luxury villa builds for a warm metallic tone without the maintenance issues of brass.
- Imitation marble film - offers the look of stone at a fraction of the weight and cost, although the texture is slightly flat compared to real stone veneer.
For reference, specialty etching and PVD coatings typically add 15-30% to the cost of the base panel – a worthwhile investment when the bottom panel is the visual centerpiece of the cabin.
Match the board to the style of your villa
The background panel should feel like a deliberate continuation of the interior language of the villa – not a standalone design decision. Some practical rules:
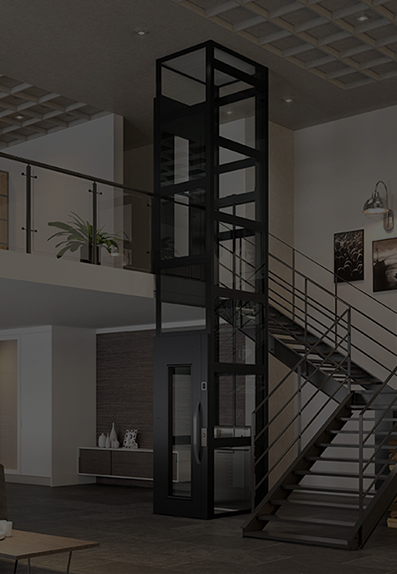
- Modern minimalist houses → glass in brushed stainless steel, matte composite or frameless. Avoid carved and ornate designs; they fight the refined geometry of space.
- Classic or transitional houses → carved wood veneer, dark walnut panels or engraved floral designs on a warm gold base.
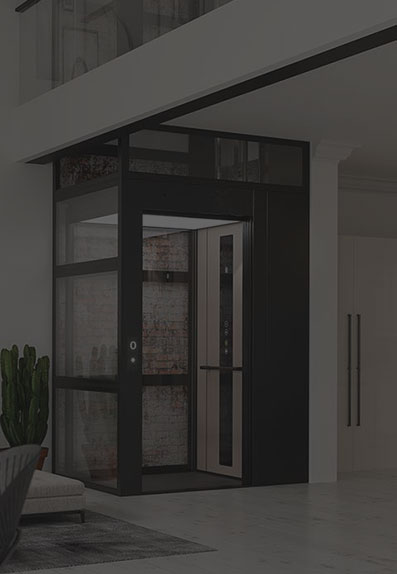
- Contemporary luxury constructions → Rose gold, imitation marble or backlit stainless steel panels with integrated LED strips on the edges.
A useful shortcut: Take a photo of the villa's entrance hall or main living space when specifying the back panel finish. The lobby and elevator should look like they belong to the same building, because they do.
The elevator car decoration complete series — ceiling panels, floor finishes, door coverings — work best when the background panel is selected first and everything else is coordinated around it.
Installation: What to Confirm Before Ordering
Thes panneaux de fond sont installés une fois le cadre de la cabine fixé et le câblage électrique terminé. Trois choses à confirmer d’emblée :
- Exact cabin dimensions — the panels are cut to measure. Even a 5mm gap creates visible gaps or requires on-site trimming which affects edge quality.
- Mounting method — clip-rail systems allow future replacement of panels without dismantling the cabin. Glued panels are cheaper initially but expensive to replace.
- Weight release — glass and stone veneer panels are significantly heavier than composite panels. Confirm the load capacity of the cabin structure before specifying heavy materials.
Thes points de montage pré-percés en usine et la découpe CNC de précision réduisent considérablement les erreurs sur site. Lorsque vous examinez les devis des fournisseurs, demandez spécifiquement si les panneaux sont pré-équipés avec le matériel de montage – beaucoup ne le font pas, et le perçage sur site dans les surfaces décoratives est une source courante de dommages à la finition.
For projects requiring non-standard cabin shapes or specialist finishes, a bespoke design and manufacturing service ensures panels are designed to exact specifications rather than adapted from standard sizes.
Humidity and long-term performance
This is where cheaper panels fail the quickest. Villa elevators, especially in coastal properties, tropical climates or homes with indoor swimming pools, are regularly exposed to fluctuations in humidity. Failure modes are predictable: edge delamination on composite panels, veneer bubbling on untreated substrates, and oxidation on low-grade stainless steel.
The traitement anti-humidité doit être une exigence de spécification et non une mise à niveau facultative. Thes âmes composites techniques avec liaison résistante à l'humidité, bandes de chant scellées et acier inoxydable de qualité 316 dans les environnements humides constituent la base pratique pour un panneau qui devrait durer 15 ans sans remise en état.
Maintenance is simple when the right material is selected. Stainless steel and PVD coated panels only require a damp cloth and mild detergent – no specialist products. Wood veneer benefits from an annual wipe down with a conditioning oil to maintain the integrity of the surface. Glass panels are the most high-maintenance option, requiring cleaning every few days in busy households to keep the cabin looking neat.
Practical Selection Checklist
Before you order, review these five points:
- Does the thickness of the panel correspond to the functional load it must support (handrails, controls)?
- Is the surface finish consistent with the interior design language of the villa?
- The matériau a-t-il été spécifié pour le niveau d'humidité réel du lieu d'installation ?
- Thes panneaux sont-ils fournis prédécoupés avec des points de montage percés en usine ?
- The fournisseur offre-t-il une gamme complète range of coordinated background panels — interior panels, cage panels and wall panel decorations — so all cabin elements come from the same production standard?
A well-chosen back panel is one of those investments that disappears into design – noticed only as part of an overall impression of quality. The goal is not to make the panel stand out; this is to make the whole cabin feel taken care of.


